Configure how your metadata is mapped
Primer's advanced metadata mapping tool allows you to specify how information from your client session metadata object is mapped to the payload we send to third-party payment connections.
This means:
- You can build custom rules and pass the needed data without Primer being involved
- You can pass fields as part of the third-party metadata objects to activate the relevant fraud flows and rules-based mappings on the third-party processor
Supported connections
This functionality is only supported for authorization on the following connections:
- Stripe
- Klarna
- Checkout.com
- Cybersource
- Worldline Direct
- Worldline Connect
How does it work?
Step 1: Prepare the metadata mapping
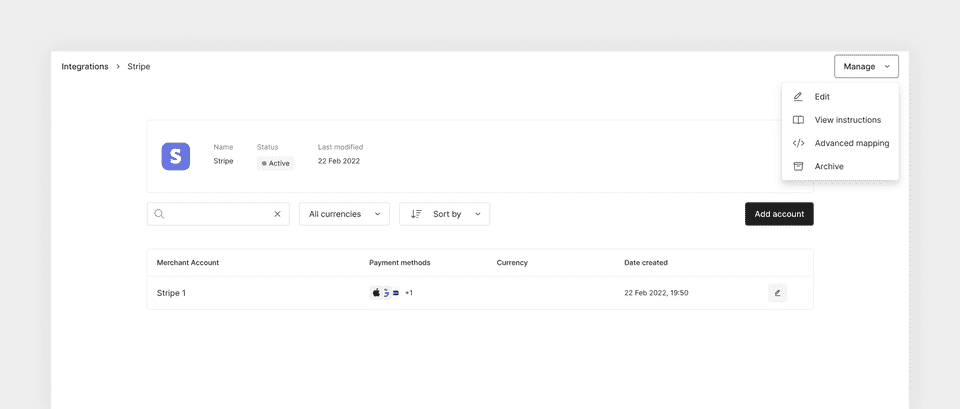
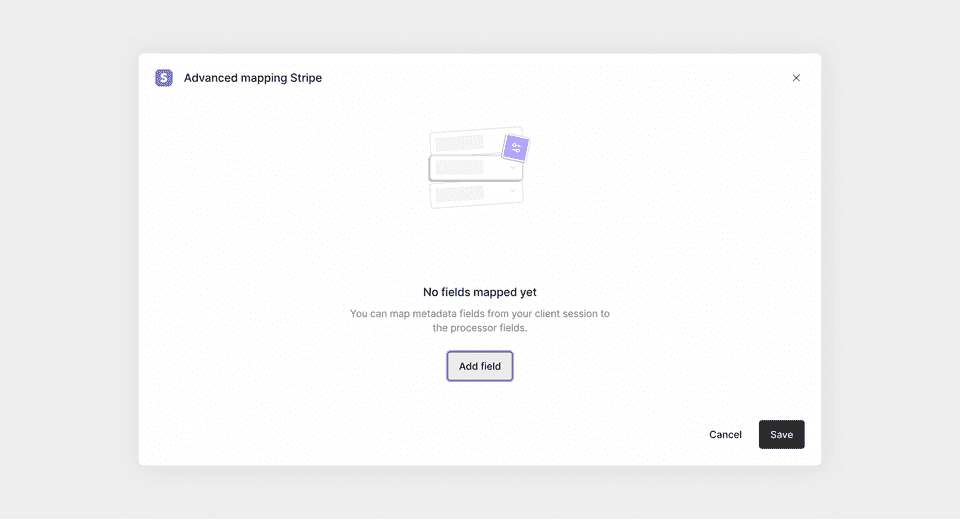
- Navigate to an existing integration that you have configured on your Primer dashboard and select Advanced mapping. The example below is for Stripe.

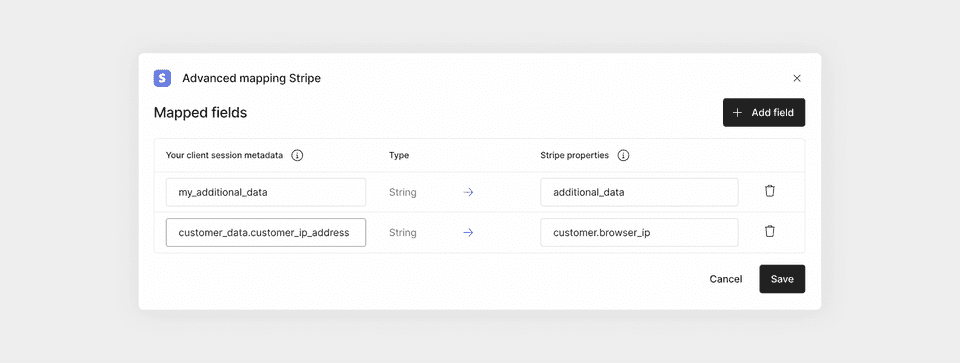
- You can now add as many fields as you want.
The mapping respects nested fields as well. You can use dot notation to specify the nested field locations.


Step 2: Make the payment request
All you need to do now is pass the correct metadata fields in the client session if the payment is made via Universal Checkout, or directly in the payment request.
Below is an example client session or payment request payload for the mapping above:
12345678910111213141516
{ "orderId": "order-123", "amount": 3000, "currencyCode": "GBP", "customerId": "cust-123", "metadata": { "customer_data": { "customer_ip_address": "127.0.0.1" }, "my_additional_data": { "field_1": "foo", "field_2": "bar" }, "some_unmapped_field": 123 }}
json
copy
The resulting request to the third-party (Stripe in this example) will then contain your fields.